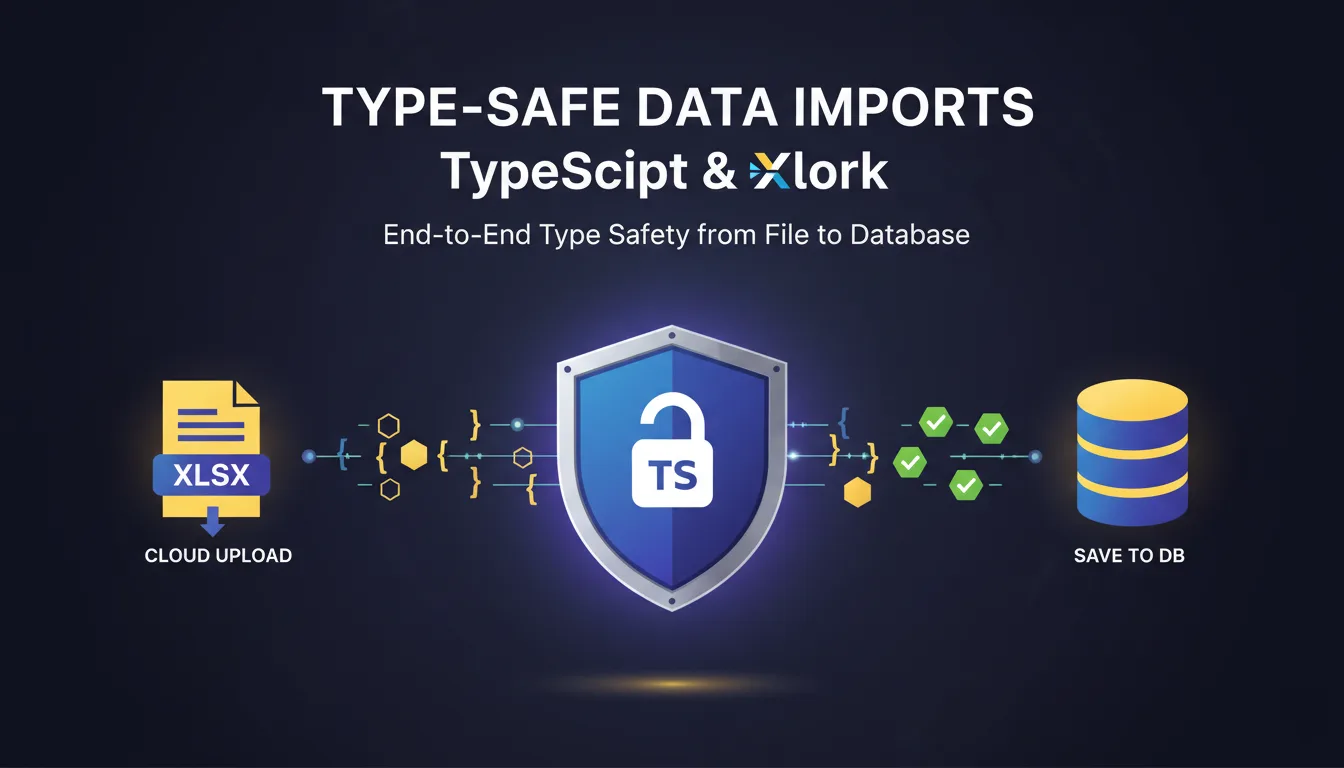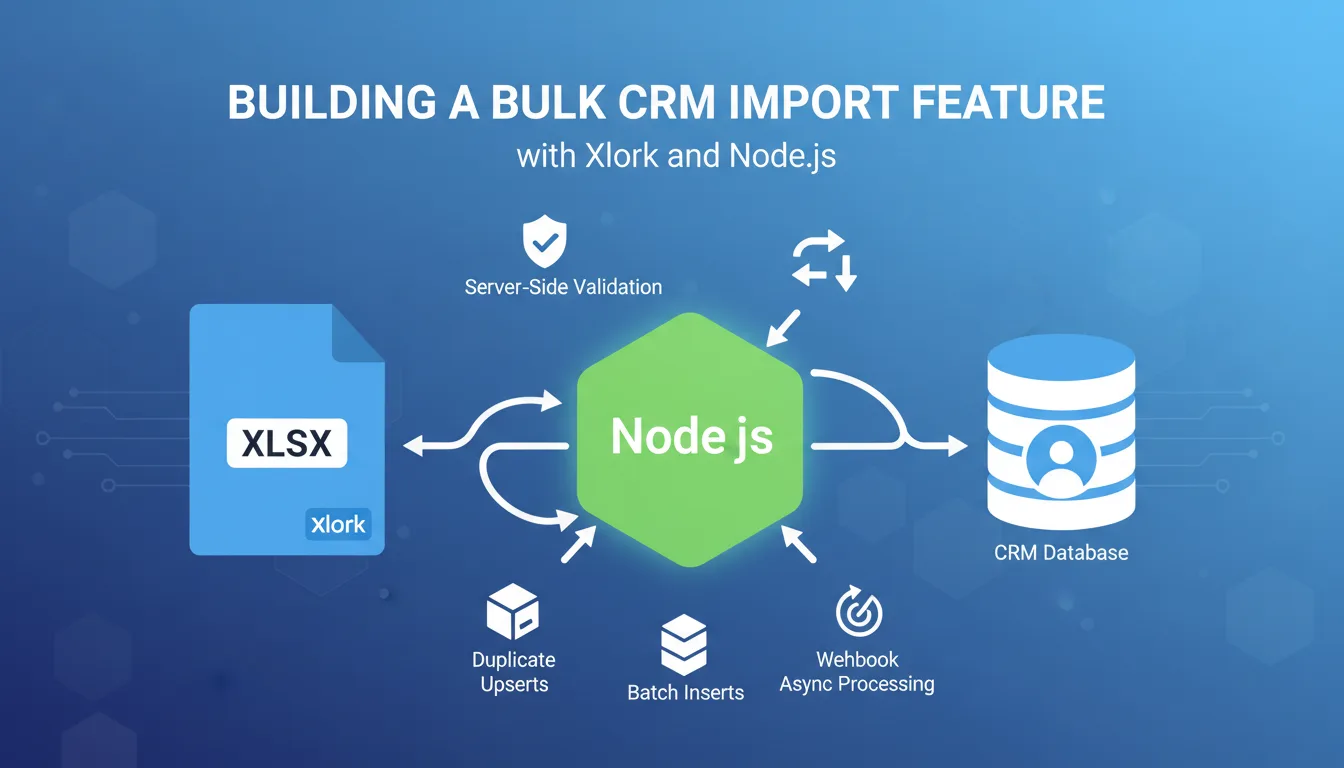
Most SaaS products eventually need a way for users to import bulk data. You could build it yourself — wire up a file input, parse CSV rows, validate columns, handle encoding edge cases, build an error UI — and burn two to three weeks doing it. Or you can embed a production-ready importer in an afternoon. This tutorial walks through integrating Xlork's React SDK into an existing app, from `npm install` to a fully validated, themed importer component with real callback handling. The example use case is a contacts importer (name, email, phone, company), but the same pattern applies to any schema.
💡 Pro tip
Before you start: Xlork processes all file parsing client-side in the browser. Raw file contents never hit your server or Xlork's servers unless you explicitly forward the validated rows from your `onComplete` callback. This matters for GDPR and HIPAA-adjacent workflows where you need to minimize data exposure.
1Prerequisites
- ✓React 17 or higher (hooks required — class components are not supported by the SDK)
- ✓Node.js 16+ and npm or yarn
- ✓An Xlork account — the free tier is sufficient for this tutorial (xlork.com/signup)
- ✓Your Xlork publishable API key from the dashboard (Settings → API Keys)
- ✓Basic familiarity with React hooks (`useState`, `useCallback`)
2Step 1: Install the SDK
Add the Xlork React package to your project: `npm install @xlork/react`. If you're using yarn: `yarn add @xlork/react`. The package ships with its own TypeScript definitions, so no separate `@types` install is needed. The bundle is around 42kb gzipped — it includes the parser, AI mapping engine (runs via WASM), and the default importer UI components. If you're on a strict bundle budget, the SDK supports tree-shaking and you can import only the headless hooks without the default UI.
3Step 2: Define Your Schema
The schema tells Xlork what columns your app expects, their types, and which validation rules to apply. This is the most important configuration step — get the schema right and the AI column mapper handles the rest automatically. Here's a complete schema for a contacts import:
```js const contactsSchema = { fields: [ { key: 'full_name', label: 'Full Name', type: 'string', required: true, description: 'First and last name of the contact' }, { key: 'email', label: 'Email Address', type: 'email', required: true, unique: true }, { key: 'phone', label: 'Phone Number', type: 'string', required: false, validators: [ { validate: 'regex', regex: '^[\\+]?[\\d\\s\\-\\(\\)]{7,15}$', error: 'Must be a valid phone number' } ] }, { key: 'company', label: 'Company', type: 'string', required: false }, { key: 'status', label: 'Status', type: 'enum', required: false, options: ['active', 'inactive', 'prospect'], default: 'prospect' } ] }; ```
A few schema design notes. The `key` value is what you'll receive in your callback data — make it match your database column name or API field name directly to avoid any post-processing mapping. Setting `unique: true` on `email` tells Xlork to flag duplicate email rows during validation, before the data ever reaches your backend. The `enum` type on `status` means Xlork will validate that imported values match one of the defined options — and the AI mapper will attempt to normalize variations like 'Active', 'ACTIVE', or 'Yes' to the canonical value.
4Step 3: Mount the XlorkImporter Component
With your schema defined, mounting the importer takes about ten lines. Here's a minimal working component:
```jsx import { XlorkImporter } from '@xlork/react'; import { contactsSchema } from './schemas/contacts'; export function ContactsImportButton() { const [isOpen, setIsOpen] = useState(false); return ( <> <button onClick={() => setIsOpen(true)}> Import Contacts </button> <XlorkImporter apiKey={process.env.REACT_APP_XLORK_KEY} schema={contactsSchema} isOpen={isOpen} onRequestClose={() => setIsOpen(false)} onComplete={(data) => { console.log('Imported rows:', data.rows); setIsOpen(false); }} /> </> ); } ```
The `XlorkImporter` renders as a modal overlay by default. The `isOpen` prop controls visibility — the component itself manages the full multi-step import flow internally (file upload, column mapping, validation review, confirmation). Your code only needs to handle what happens after the user confirms the import. Never hardcode your API key — use an environment variable. The publishable key is safe to expose in client-side code (it's scoped to import operations only), but using env vars is still the right habit.
5Step 4: Handle the onComplete and onError Callbacks
The `onComplete` callback receives a results object with this shape:
```js // onComplete receives: { rows: [ { full_name: 'Jane Smith', email: 'jane@example.com', phone: '+1 415 555 0100', company: 'Acme Corp', status: 'active' }, // ... remaining rows ], meta: { totalRows: 847, validRows: 831, skippedRows: 16, fileName: 'contacts_q1.csv', mappings: { 'First Name': 'full_name', 'Email': 'email', 'Mobile': 'phone', 'Organization': 'company' } } } ```
The `meta.mappings` object records how the AI resolved source column names to your schema keys. This is useful for auditing and for logging import sessions. Here's a more complete callback handler that POSTs validated rows to your API:
```jsx const handleImportComplete = useCallback(async (data) => { setIsOpen(false); setImportStatus('uploading'); try { const response = await fetch('/api/contacts/bulk', { method: 'POST', headers: { 'Content-Type': 'application/json' }, body: JSON.stringify({ contacts: data.rows }) }); if (!response.ok) { throw new Error(`API error: ${response.status}`); } const result = await response.json(); setImportStatus('success'); setImportedCount(result.inserted); } catch (err) { setImportStatus('error'); setImportError(err.message); } }, []); const handleImportError = useCallback((error) => { console.error('Import failed:', error.code, error.message); // error.code values: FILE_TOO_LARGE, UNSUPPORTED_FORMAT, // PARSE_ERROR, VALIDATION_FAILED, USER_CANCELLED }, []); ```
Note that `onComplete` only fires after the user has reviewed the column mappings and confirmed the import — meaning you receive pre-validated, pre-mapped rows. You don't need to re-validate email formats or check for missing required fields on your backend (though defense in depth suggests you still should). The `USER_CANCELLED` error code fires when the user closes the modal mid-flow, which you can safely ignore in most cases.
6Step 5: Add Custom Validation Rules
Beyond built-in type validation, Xlork supports row-level custom validators that run in the browser before the user confirms the import. This is where you can catch business logic errors — duplicate checks against existing data, value range constraints, or cross-field dependencies:
```js const contactsSchema = { fields: [ /* ... as above ... */ ], rowValidators: [ { validate: async (row) => { // Check against existing contacts via your API const res = await fetch( `/api/contacts/exists?email=${encodeURIComponent(row.email)}` ); const { exists } = await res.json(); if (exists) { return { isValid: false, message: `A contact with email ${row.email} already exists` }; } return { isValid: true }; } } ] }; ```
Async row validators work, but use them carefully. If you're importing 5,000 rows and each validator makes an API call, you'll hammer your server. Batch the lookups where possible, or apply async validators only to a uniqueness-check field rather than every row. Alternatively, skip the client-side existence check entirely and handle conflict resolution server-side after the import — return a response that tells the user how many were inserted vs. skipped.
7Step 6: Theme and Customize the UI
The default Xlork UI is intentionally minimal — clean white modal with blue accents. For most apps you'll want it to match your design system. The SDK exposes a `theme` prop:
```jsx <XlorkImporter apiKey={process.env.REACT_APP_XLORK_KEY} schema={contactsSchema} isOpen={isOpen} onRequestClose={() => setIsOpen(false)} onComplete={handleImportComplete} theme={{ colors: { primary: '#6366f1', // Your brand color primaryHover: '#4f46e5', background: '#ffffff', surface: '#f9fafb', text: '#111827', textMuted: '#6b7280', border: '#e5e7eb', error: '#ef4444', success: '#10b981' }, borderRadius: '8px', fontFamily: 'Inter, system-ui, sans-serif' }} options={{ maxFileSize: 10 * 1024 * 1024, // 10MB allowedFormats: ['csv', 'xlsx', 'xls'], showColumnDescriptions: true, allowSkipValidation: false }} /> ```
The `allowSkipValidation: false` option is worth calling out — when set to false, users cannot bypass the validation step and confirm an import with errors. This is the safer default for data-integrity-sensitive flows. If your use case allows partial imports (e.g., import valid rows and skip invalid ones), set this to true and filter on `meta.validRows` in your callback.
8Step 7: Test Your Integration
Before shipping, run through these scenarios manually or in your test suite. For unit tests, the SDK exports a `mockXlorkImporter` test utility that lets you simulate import completion without actually rendering the modal:
- ✓Happy path: upload a clean CSV with all required columns present and correctly named
- ✓Column name mismatch: upload a CSV where 'First Name' and 'Last Name' are separate columns instead of 'Full Name' — verify the AI mapper resolves this correctly
- ✓Missing required fields: upload a CSV with no email column — verify the error state and user messaging
- ✓Duplicate emails in the same file: upload a CSV with two rows sharing the same email address
- ✓Large file: test with a 1MB+ CSV (5,000+ rows) to verify performance and that the UI remains responsive during parsing
- ✓Non-UTF-8 encoding: export a CSV from Excel with accented characters (Latin-1 encoding) and verify they render correctly
- ✓User cancellation: open the modal and close it mid-flow — verify your app state resets cleanly
```js // Example test using mockXlorkImporter import { mockXlorkImporter } from '@xlork/react/testing'; test('imports contacts and calls API', async () => { mockXlorkImporter.simulateComplete({ rows: [ { full_name: 'Test User', email: 'test@example.com', phone: '', company: 'Test Co', status: 'prospect' } ], meta: { totalRows: 1, validRows: 1, skippedRows: 0 } }); render(<ContactsImportButton />); fireEvent.click(screen.getByText('Import Contacts')); await waitFor(() => { expect(fetch).toHaveBeenCalledWith('/api/contacts/bulk', expect.objectContaining({ method: 'POST' }) ); }); }); ```
9Common Pitfalls
- ✓CORS on row validators: if your async validators call your own API, make sure your API server allows requests from your frontend origin. Localhost dev usually works but staging environments with strict CORS headers will break silently.
- ✓File size limits: the default `maxFileSize` is 5MB. Users importing from enterprise CRMs often have larger exports. If your use case involves bulk migrations, bump this to 25MB or 50MB and test parsing performance at that scale.
- ✓Excel date serial numbers: Excel stores dates as numeric serials (e.g., 44927 for 2023-01-01). If you have a date column in your schema, use `type: 'date'` rather than `type: 'string'` so Xlork handles the conversion. Using `string` will pass raw serial numbers to your backend.
- ✓BOM characters in CSV: some tools prefix CSV files with a UTF-8 BOM (\uFEFF). This will corrupt the first column name (e.g., 'email' becomes '\uFEFFEmail'). Xlork strips BOMs automatically, but if you're doing any pre-processing of the file before passing it to the SDK, strip the BOM first.
- ✓Schema defined inside the component render: if you define your schema object inline as a component prop (not in a separate module or memoized with useMemo), it will re-instantiate on every render and cause unnecessary re-mounting. Define schemas outside the component or memoize them.
- ✓API key in source control: use environment variables for your publishable key. Even though publishable keys are read-safe, rotating a leaked key requires updating all deployments.
10What the AI Column Mapper Actually Does
When a user uploads a file, Xlork's AI mapper analyzes the source column names and attempts to match them to your schema fields semantically, not just by string similarity. A column named 'Mobile Number', 'Cell', 'Tel', or 'Contact Phone' will all map to your `phone` field. It also looks at sample cell values — a column named 'ID' that contains email-formatted values will be mapped to `email` regardless of the column label.
This runs entirely in-browser via a quantized embedding model compiled to WASM. There's no API call to an inference endpoint, so mapping latency is consistent regardless of network conditions. The mapping step typically completes in under 500ms for schemas with fewer than 20 fields. For larger schemas, the SDK shows a brief loading state.
The AI mapping runs client-side in WASM — no inference API calls, no latency spikes, no raw data leaving the browser. Users always see the suggested mappings and can correct them before confirming.
11Deploying to Production
The integration you've built is already production-ready. A few deployment checklist items: Ensure `REACT_APP_XLORK_KEY` (or your framework's equivalent env var prefix) is set in your CI/CD environment. If you're using Content Security Policy headers, add `'wasm-unsafe-eval'` to your `script-src` directive — Xlork's WASM module requires it. Verify your API endpoint for bulk inserts handles the POST body size you expect (5,000 rows of contact data is typically 500-800kb of JSON). Set up a monitoring alert on your bulk import endpoint's error rate — import flows have higher variance in payload size than typical user actions.
💡 Pro tip
The full SDK reference, including all schema field types, validator options, and theme tokens, is at xlork.com/docs/react-sdk. If you're integrating with Node.js on the backend or need to trigger imports programmatically via REST API, the server-side docs are at xlork.com/docs/api.
12Next Steps
You now have a working, validated contacts importer embedded in your React app. From here, a few directions worth exploring: the `onRowChange` hook lets you transform individual rows during the review step (useful for normalizing phone formats before the user confirms), the SDK supports Google Sheets import via URL paste with no additional configuration, and the `headless` mode lets you use Xlork's parsing and validation engine with your own custom UI components if the default modal doesn't fit your product's patterns.
If you hit issues during integration, the Xlork docs cover every prop, error code, and edge case in detail — xlork.com/docs. The free tier supports up to 1,000 import rows per month, which is enough to build, test, and demo the feature before you need to think about a paid plan.